
How to Use Ozone Generator in Car Safely and Effectively
You're sitting in the driveway with a car that still smells like cigarette smoke, wet dog, mildew, or yesterday's spilled coffee. You've vacuumed it, sprayed an air freshener, and waited for the fragrance to fade. The odor returns because the source is still in the upholstery, carpet padding, headliner, or HVAC system.
An ozone generator can help with stubborn residual odor, but it isn't a magic air cleaner and it must never operate around people or animals. Treat the job as a documented unoccupied-space procedure. Clean first, isolate the vehicle, control the treatment, ventilate thoroughly, and verify the cabin before anyone gets back inside.
Table of Contents
- Why Cars Need Ozone Treatment in the First Place
- Safety Limits You Cannot Ignore
- Preparing the Cabin Before You Press Start
- Placing the Generator and Configuring the HVAC
- Run Time Is a Starting Point, Not a Target
- Ventilating and Verifying the Car Is Safe to Enter
- Troubleshooting Lingering Odor, Damage, and False Confidence
Why Cars Need Ozone Treatment in the First Place
A car's interior gives odor plenty of places to hide. Smoke settles into fabric and foam. Pet contamination can remain below the visible surface. A damp mat or concealed spill can keep releasing odor long after the area looks clean. HVAC components add another route, carrying musty smells through the vents whenever the blower runs.
Air fresheners and fragrance sprays mostly change what you notice. They can make a cabin smell different without removing the material that keeps producing the original odor. Ozone takes a different approach. As a reactive gas, it oxidizes odor-causing compounds in places that are difficult to reach with a cloth or spray, including seams, porous trim, and air ducts.
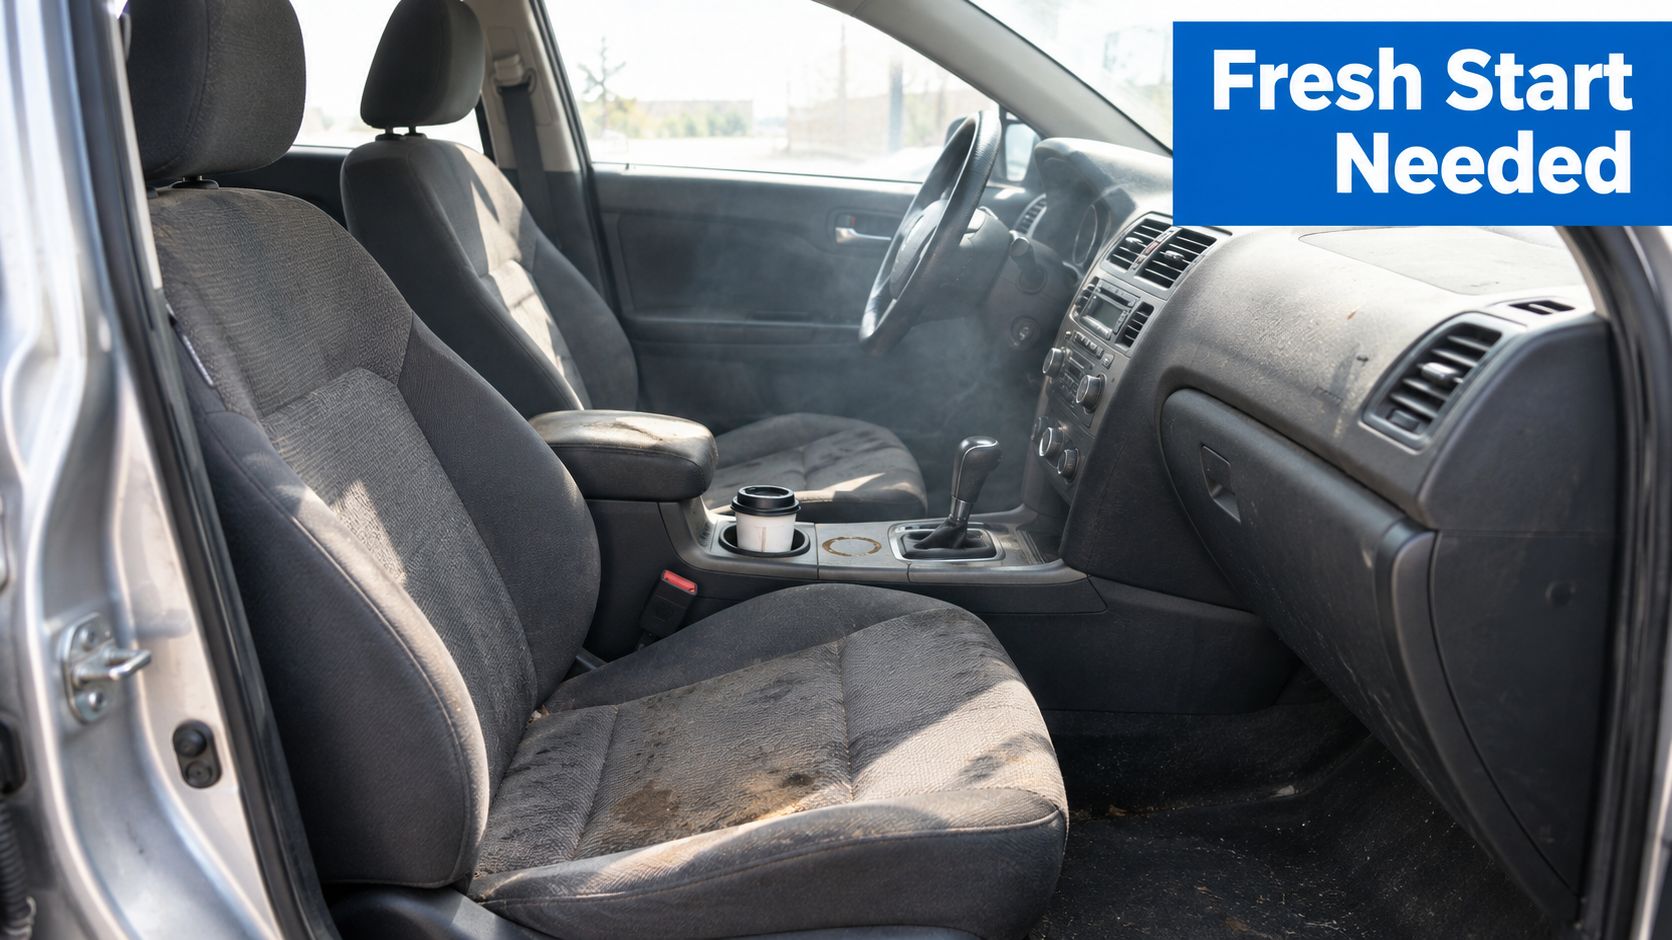
That reach is both the reason ozone can work and the reason careless use creates problems. A vehicle cabin is a small enclosed volume, so the gas can build rapidly. The same concentration that reaches a hidden odor source can also reach seals, wiring insulation, sensitive electronics, and a person who opens the door too soon.
Practical rule: Ozone is a periodic shock treatment for an empty vehicle, not a product to run while you drive, transport passengers, or carry pets.
Remove the source before oxidizing the residue
Ozone won't remove a soaked food spill, wet carpet, cigarette ash, mold-contaminated material, or a dirty cabin filter. It may reduce the odor temporarily, but the source can continue emitting compounds after treatment. That's why professional results usually begin with extraction, wiping, drying, and filter service rather than with the generator.
Use ozone when ordinary cleaning has removed the source but a stubborn residual odor remains. If the smell comes from active moisture, biological growth, or a contaminated porous component, correct that problem first. Otherwise, increasing the output only treats the symptom more aggressively.
The safety rule is simple before any equipment choice: everyone and everything living stays outside the vehicle. That includes people, pets, plants, and food. The car should be outdoors or in a well-ventilated area, with the ignition off unless the generator manufacturer gives a specific alternative procedure.
Safety Limits You Cannot Ignore
A car can appear aired out while ozone remains in the cabin, especially around seat seams, carpeting, and the HVAC system. A timer shows operating duration, not concentration, so treat every job as an unoccupied procedure with a documented return-to-service check.
OSHA sets a permissible exposure limit of 0.10 parts per million, averaged over an 8-hour workday. NIOSH recommends a 0.10 ppm ceiling that should not be exceeded at any time and identifies 5 ppm as the revised immediately dangerous to life or health concentration, based on acute human inhalation toxicity data. The NIOSH ozone exposure guidance provides the underlying limits.
These figures are exposure boundaries, not treatment targets. A workplace average does not authorize entry into a treated car, and the NIOSH ceiling is not a setting for the generator. Output, cabin volume, air leakage, HVAC position, and treatment conditions can change the concentration quickly.
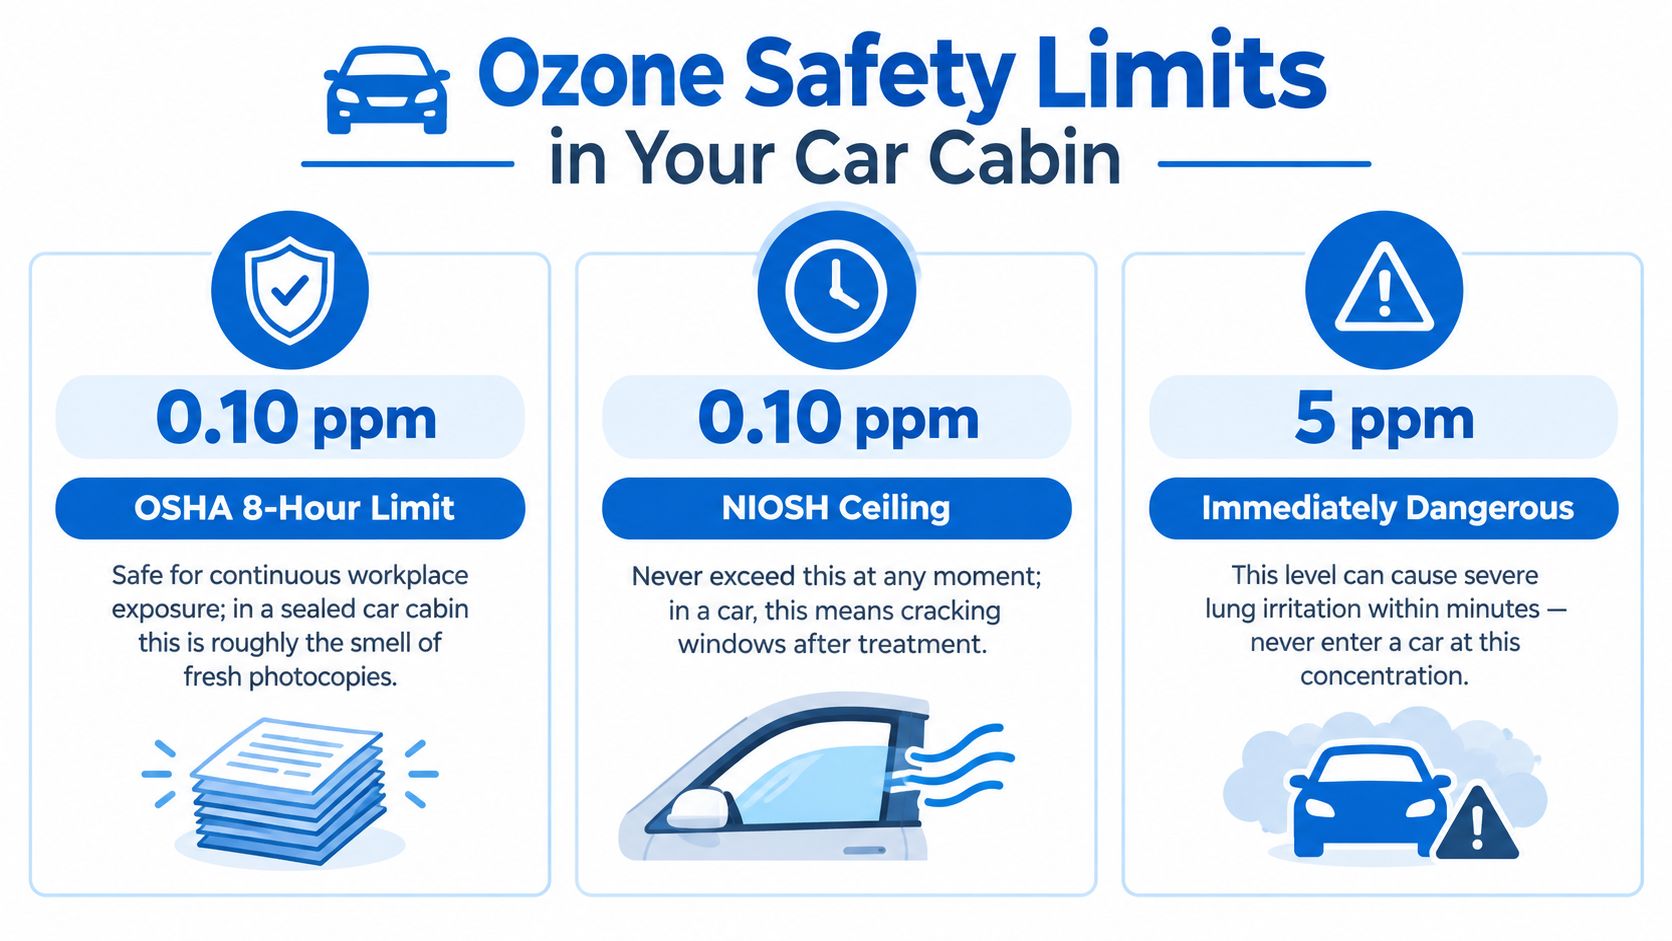
What the limits mean in practice
Use these rules for every treatment:
- Keep the cabin unoccupied: No person, pet, plant, or food belongs inside while the generator operates.
- Prevent casual re-entry: Do not sit in the driver's seat, wait in the vehicle, or lean through the door to retrieve an item before ventilation and clearance.
- Do not clear by smell: A fading ozone odor does not establish a safe concentration. Ozone can react with interior chemicals and form other irritating compounds.
- Follow the equipment procedure: Use the generator's rated output and written instructions. Do not work backward from a guessed concentration or a fixed exposure target.
California provides a separate equipment distinction. Since 2010, portable indoor air-cleaning devices sold to California consumers or businesses, including devices intended for motor vehicles, have required California Air Resources Board certification. For electronic air cleaners, the maximum permitted ozone-emission concentration is 0.050 ppm, or 50 parts per billion, under the state regulation. The CARB regulation overview covers related testing and labeling requirements.
That cap applies to regulated portable air-cleaning equipment. It does not make a high-output generator suitable for occupied use. A low-emission air cleaner intended for continuous operation belongs to a different equipment category than a generator used during an unoccupied odor-treatment cycle.
For a compatible purifier replacement component, the Standard Ozone Plate is listed for specified Alpine, EcoQuest, Living Air, Vollara, Healthy Living, Spring Air, Lightning Air, and Natures Air models. The product listing does not alter the exposure procedure. Any ozone-emitting equipment requires strict separation from occupants.
Preparing the Cabin Before You Press Start
The most effective ozone job often happens before the generator is plugged in. Remove the odor source, reduce the material the gas has to fight through, and create a clean baseline so you can tell whether the treatment helped.
Start outside the vehicle with a deliberate inventory. Photograph the interior and note existing cracks, brittle seals, faded trim, damaged wiring insulation, cloudy plastics, or electronic accessories. Ozone can accelerate oxidation of vulnerable materials, so a before record protects both the vehicle owner and the technician from confusing old damage with treatment damage.
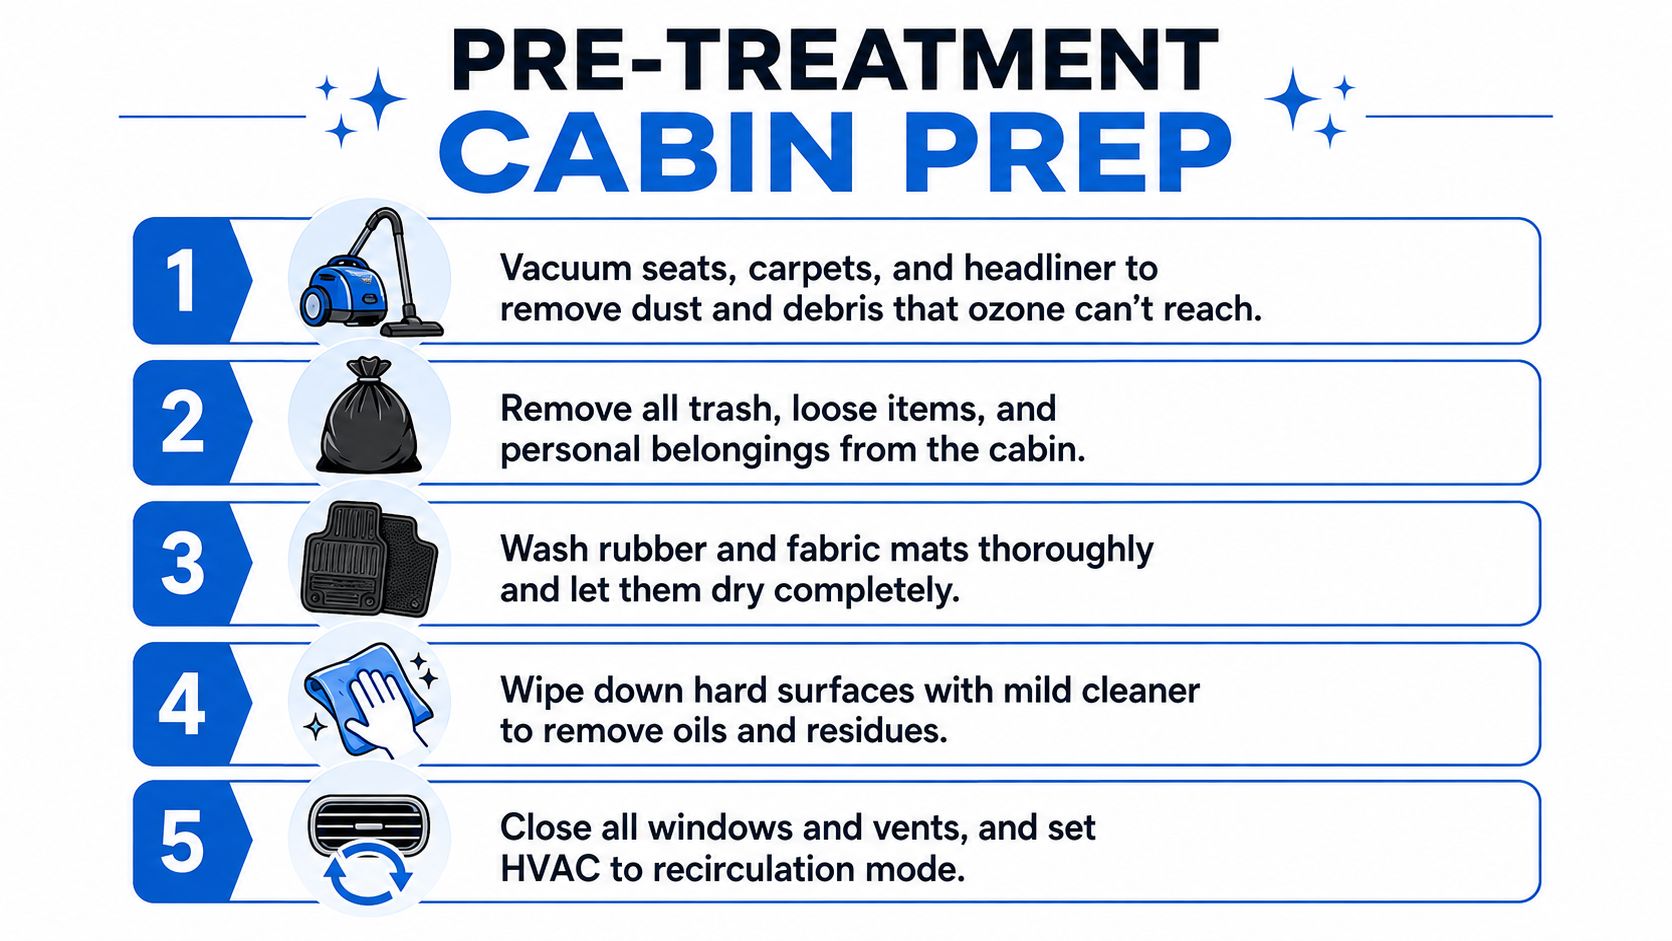
Use this preparation sequence
Remove the obvious sources. Take out trash, bottles, clothing, child items, pet bedding, and personal belongings. Pull the mats and inspect beneath them for moisture or spills.
Vacuum thoroughly. Work across the seats, carpet, seams, seat rails, cargo area, and headliner with appropriate care. Dust and loose debris can hide odor material and prevent cleaners from reaching the surface.
Clean washable items separately. Wash rubber and fabric mats, then let them dry completely before they return to the car. Never seal damp materials inside and expect ozone to solve the moisture problem.
Clean visible residue. Wipe hard surfaces and address smoke film, grease, biological residue, or food contamination with a compatible cleaner. Don't leave fragrance, solvent, or strong cleaner residue behind immediately before treatment, because ozone can react with interior chemicals and form secondary irritants.
Service the air path. Replace or clean the cabin air filter when its condition contributes to the odor. If the HVAC evaporator or ductwork contains active contamination, treat that as a separate maintenance issue rather than assuming the cabin treatment will remove it.
EPA testing demonstrates why isolation matters. High-setting ozone generators with doors closed produced 0.20 to 0.30 ppm inside the treated space, while nearby-room concentrations reached 0.12 to 0.20 ppm when a powerful unit ran with doors open. Those levels can exceed health limits, as documented in the EPA ozone generator evaluation.
The takeaway is practical: keep doors and windows closed during the controlled cycle, but keep people away from the vehicle and ventilate it outside afterward. Record the vehicle condition, cleaning performed, generator setting, start and stop times, ventilation duration, and any meter readings.
Placing the Generator and Configuring the HVAC
Placement determines whether ozone reaches the cabin evenly or concentrates around the machine. Put the generator on a stable, non-porous surface with clear airflow around its intake and outlet. The floor or a protected seat can work, provided the unit won't tip, block an airbag, contact damp material, or rest directly on leather, soft vinyl, or heat-sensitive plastic.
Route the power cable without pinching it in a door or creating a trip hazard. If the unit uses a 12V source, follow its electrical instructions and don't improvise a connection that could drain or damage the vehicle battery. The ignition should remain off unless the manufacturer's written procedure specifically requires otherwise.
Close the windows, sunroof, doors, and hatch before starting. Open interior storage compartments so the gas can reach them, but don't dismantle trim or expose delicate electronics merely to increase circulation. The goal is controlled distribution, not maximum penetration at any cost.
Choose the HVAC mode deliberately
Recirculation can move treated air through the vehicle's cabin air path, but the blower should only run when the generator and vehicle manufacturer's procedures allow it. At the end, fresh-air operation helps exchange the cabin atmosphere during ventilation.
| Phase | HVAC Mode | Blower Speed | Reason |
|---|---|---|---|
| Preparation | Off | Off | Prevents unintended airflow while the cabin is being cleaned and configured. |
| Treatment | Recirculation, when appropriate | Controlled setting specified by the procedure | Moves air through interior ducts without drawing untreated outside air into the cabin. |
| Ventilation | Fresh air | High, only while the vehicle is unoccupied | Helps flush treated air from the HVAC path and cabin. |
Commercial and fleet operators should also review vehicle-specific air-conditioning procedures. My Safety Manager DOT guidance can provide useful context for working around vehicle HVAC systems, although it doesn't replace the ozone generator's instructions or the vehicle service manual.
Choose equipment according to the actual job, not the largest output you can find. The car and home ozone generator category is one place to compare equipment intended for those settings, but the operating procedure still depends on the unit's output and written guidance.
Before pressing start, confirm that the vehicle is outside or in a well-ventilated area, the ignition is off if required, everyone is clear, the timer is configured, and the generator cannot fall or contact a sensitive surface.
Run Time Is a Starting Point, Not a Target
A fixed minute count looks helpful on a product label, but it hides the variables that control the result. Generator output, cabin volume, leaks, temperature, humidity, HVAC configuration, and the condition of the odor source all affect the concentration that develops.
Most car-ozone guides recommend a fixed 30 to 60 minute runtime, yet post-treatment advice ranges from 15 to 30 minutes of ventilation to several hours or overnight. That conflict is documented in Chemical Guys' discussion of car ozone treatment. It shows why a timer is a weak proxy for either effectiveness or clearance.
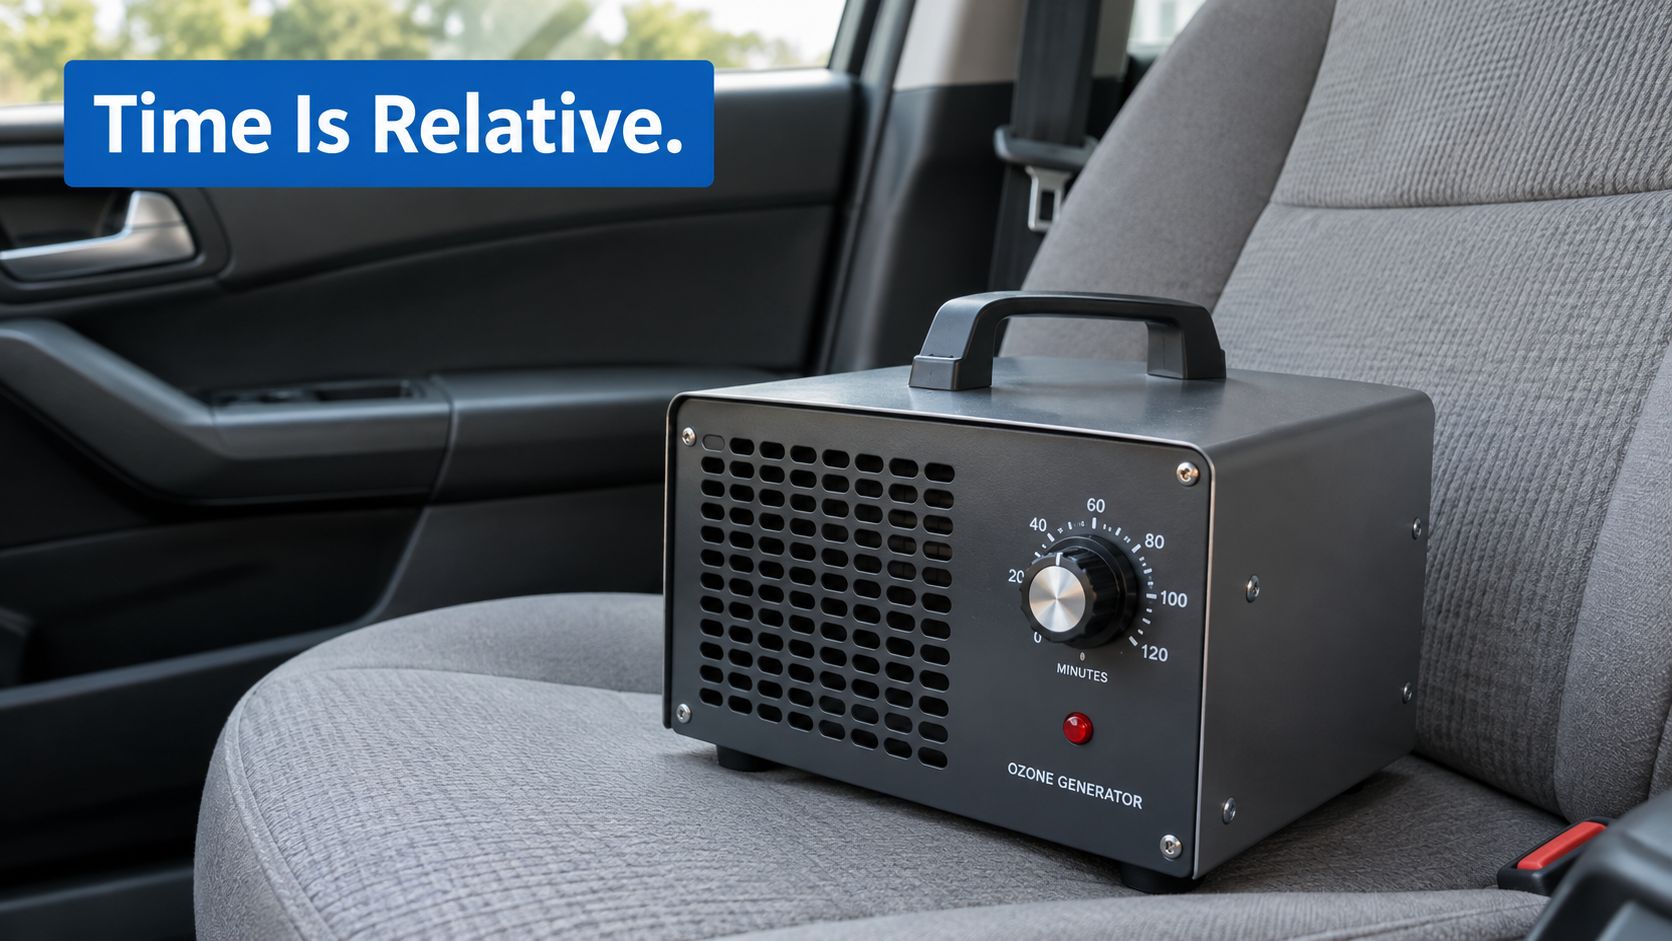
Compare the two common operating approaches
A shorter, higher-output cycle can reduce treatment time, but it may create a sharper concentration peak and increase the burden on seals, plastics, rubber, wiring insulation, dyes, and electronics. It also demands disciplined isolation and a longer or more carefully verified return-to-service process.
A longer, moderate-output cycle may distribute treatment more gradually, but it still isn't automatically safer. If the unit is poorly matched to the cabin, the car leaks heavily, or the source remains embedded in a porous material, more runtime can add exposure without solving the underlying problem.
Use the manufacturer's rated output and written procedure as the starting point. Then adjust the job through documented conditions rather than guesswork:
- Vehicle size: A small cabin and a large cargo vehicle won't behave the same way.
- Generator output: Higher output can produce a concentration spike more quickly.
- Leak rate: Door seals, open vents, and imperfect closure change distribution.
- Temperature and humidity: Environmental conditions affect ozone behavior and odor chemistry.
- Source severity: Surface residue after cleaning is a different problem from soaked padding or active moisture.
- Measurement: A meter gives you information a countdown cannot.
The Ozone Blaster 14g is an example of equipment that should be operated according to its own rated output and instructions, not according to a generic internet runtime. The product name alone doesn't establish a safe cycle for a particular vehicle.
If you don't have a reliable monitor or a documented procedure, don't pretend that an exact timer creates precision. Clean the cabin, use the shortest manufacturer-approved controlled cycle appropriate to the situation, and treat ventilation and verification as a separate stage. Repeating a measured process is safer than escalating an unmeasured one.
Ventilating and Verifying the Car Is Safe to Enter
The generator switching off does not end the job. The car remains an unoccupied treated space until its air has been exchanged and the return-to-service decision has been recorded.
Move the vehicle outdoors or to a well-ventilated area. Standing outside the cabin, open every door, the hatch or trunk, and the windows. If the vehicle and equipment instructions allow it, set the HVAC to fresh-air mode with the blower high while nobody is inside. Keep the generator off. Remove it only when you can do so without leaning your face into the cabin.
Ventilation time should reflect cabin volume and airflow, not a fixed timer copied from another vehicle. A larger or poorly ventilated cabin may need longer clearance than a small car.
Do not use smell as the clearance test. Ozone odor may fade before the concentration is suitable, while reactions with interior chemicals can produce irritants that do not smell like ozone. The 0.050 ppm CARB emission cap discussed in the safety section is not a re-entry threshold, but it shows why “the smell is gone” is insufficient. Use ventilation and measurement together.
Record a clear return-to-service decision
Use an ozone monitor suitable for the task. Position it near an occupant's breathing zone, not directly beside the generator outlet, then allow the reading to stabilize. Record the value and continue ventilating if it has not reached the clearance criterion in your written procedure.
Follow the monitor manufacturer's operating instructions and your workplace procedure when deciding whether the vehicle can return to service. If no reliable measurement is available, keep the car out of service rather than treating a timer or neutral smell as proof of clearance.
Record four details:
- Ventilation start: Note when the doors, windows, and hatch or trunk were opened.
- HVAC action: Record whether fresh-air mode was used and for how long.
- Meter readings: Write down the location, time, and stabilized result.
- Release decision: Identify who cleared the vehicle and when it returned to service.
An air quality monitor can support this record when its specifications and operating limits cover ozone measurement. A device that cannot reliably detect ozone may create false confidence, so confirm its capability before relying on the reading. Keep the vehicle unavailable to passengers until the documented criterion has been met.
Troubleshooting Lingering Odor, Damage, and False Confidence
Lingering odor usually points to an untreated source. Check beneath carpet, inside seat foam, around the cabin filter, in the HVAC path, and anywhere moisture may remain. Clean or remove the contaminated material, dry the interior, and consider activated-carbon adsorption instead of increasing ozone output. Guidance on how to get smoke smell out is useful when smoke residue requires a broader cleaning plan.
Material damage has a different signature. Look for brittle or cracked rubber, dried seals, faded dyes, hazy plastics, damaged wiring insulation, or changes around sensitive electronics. Photograph the area, compare it with the pre-treatment record, stop repeated high-concentration cycles, and use a lower-risk cleaning method for the source. Don't run ozone with exposed or unprotected sensitive electronics merely to reach a hidden cavity.
False confidence is the most serious failure. The cabin smells neutral, so someone climbs in before the air has been measured. The correction is procedural: keep the vehicle out of service, ventilate from outside, and use a suitable ozone monitor to support the clearance decision. If you can't verify the air, you can't call the car ready for passengers.
EcoQuest Purifiers offers ozone generators, air-quality equipment, replacement parts, and other indoor-air products for home, vehicle, and professional applications. Review the available EcoQuest Purifiers options alongside the vehicle's odor source, required monitoring, and unoccupied-space procedure before choosing equipment.